A gaming PC does not need to be brand-new to feel faster. Sometimes the hardware is already capable of running a game well, but something small is getting in the way: Windows is using the wrong refresh rate, a launcher is downloading an update, temperatures are climbing, the graphics driver is causing trouble, or the game settings simply do not fit the hardware.
That is why I prefer to approach PC optimization as troubleshooting, not as a race to apply every tweak you can find online.
Find the problem. Change something that should address it. Test the result.
This approach is much more useful than changing ten settings at once and then trying to guess which one helped.
A game can show a high average FPS and still feel inconsistent because of frame-time spikes. A 165 Hz monitor can be running at 60 Hz because of a Windows setting. And lowering every graphics option may do very little when the CPU, rather than the GPU, is holding performance back.
You can make most improvements yourself. A guided PC gaming optimization tool such as HD OPTI can also help organize Windows, GPU, input, and supported-game settings. But the same process works manually:
Measure first. Make a targeted change. Test again.
This guide focuses on changes that are understandable, reversible, and measurable. It avoids risky registry edits, unexplained scripts, and unrealistic FPS promises.
Windows 11 note: This guide primarily uses Windows 11 menu paths and features. Many recommendations also apply to Windows 10, but some settings and features may differ.
Quick Answer: How Do You Optimize a PC for Gaming?
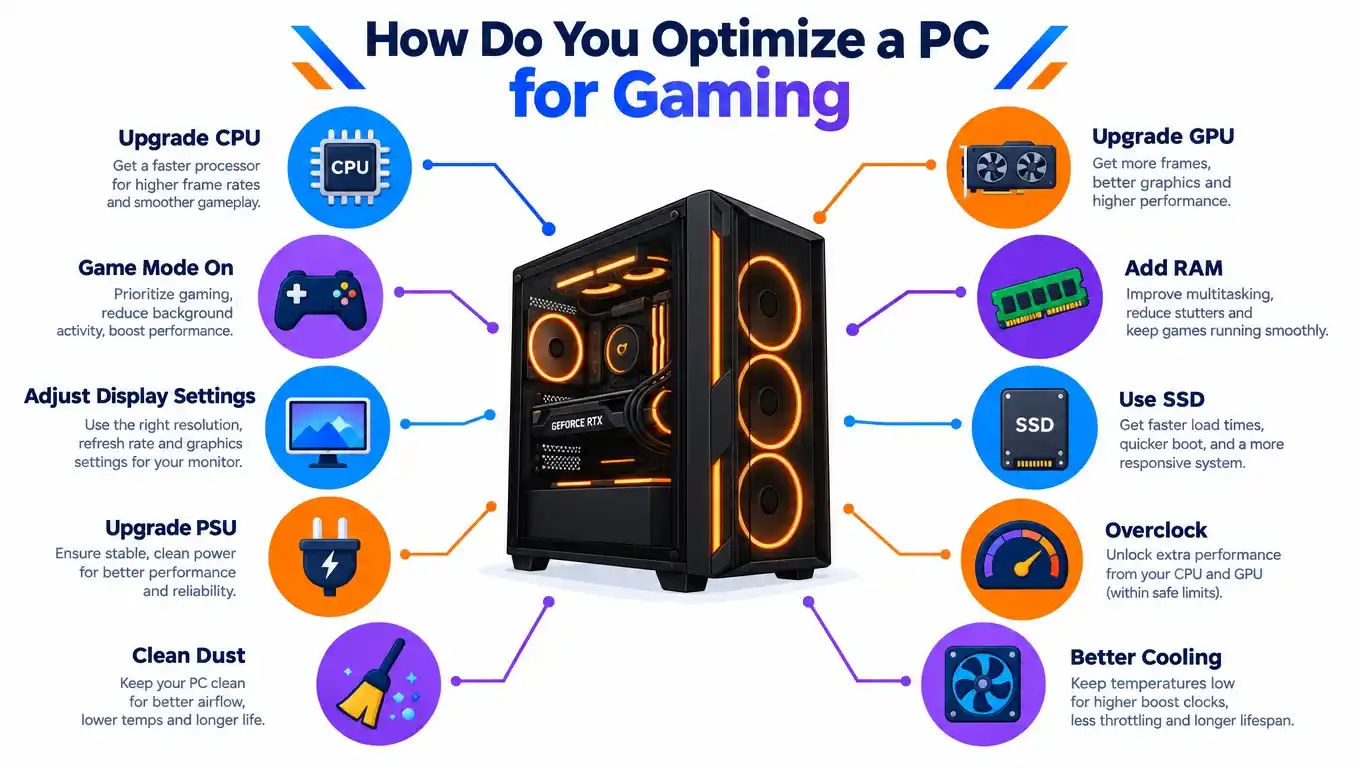
For most Windows gaming PCs, start with these steps:
- Measure FPS, frame times, temperatures, and resource usage.
- Keep Windows reasonably current and install an appropriate graphics driver.
- Confirm that the monitor is running at its intended refresh rate.
- Enable Windows Game Mode.
- Close unnecessary background applications and pause active downloads.
- Determine whether the game is limited by the CPU, GPU, RAM, VRAM, storage, or another factor.
- Change settings that address the actual limitation.
- Use an FPS cap when it improves frame-time consistency, heat, or noise.
- Check temperatures, clock behavior, memory pressure, and available storage.
- Test the same scene again after meaningful changes.
There is no universal “best gaming optimization” preset.
The right settings depend on the game, CPU, GPU, memory, display, cooling, driver version, and the experience you want.
The goal is not to make every number bigger. It is to make the game feel and perform better on your particular system.
Start by Defining What “Better” Means
Before changing settings, decide what you are actually trying to improve.
You might want to:
- Stay above 120 FPS during competitive matches.
- Reduce stutter when entering new areas.
- Make frame times more consistent.
- Reduce input delay.
- Lower GPU temperature and fan noise.
- Improve image quality without sacrificing too much performance.
- Stop background activity from interfering with online play.
Those are different problems.
A competitive shooter may benefit from high and consistent FPS and low latency. A single-player game may feel better with higher image quality and steadier frame pacing, even at a lower frame rate.
So start with a simple question:
What feels wrong right now?
That answer often tells you where to look first.
Measure Performance Before Changing Anything
Without a baseline, a small change can look important simply because the game behaved differently during the second test.
For a useful baseline, record:
- Average FPS: Overall frame rate during the test.
- 1% low FPS: A common way to summarize the slower end of frame-rate performance. Results can vary between monitoring tools and calculation methods.
- Frame time: The time required to produce each frame.
- GPU utilization: Helps show how heavily the graphics card is being used.
- CPU behavior: Individual threads can matter more than total CPU usage.
- RAM and VRAM usage: Useful for spotting memory pressure.
- CPU and GPU temperatures: Helpful when checking for thermal or power limits.
- Storage activity: Can help explain some loading or asset-streaming interruptions.
- Network conditions: Ping, packet loss, and jitter matter in online games.
Use a built-in benchmark when one is available.
Otherwise, use the same training area, route, replay, or section of a level each time.
A live multiplayer match is useful for final validation, but it is a poorly controlled benchmark. Player counts, effects, server conditions, and what happens around you can all change between matches.
Keep a Simple Test Log
You do not need a complicated spreadsheet.
| Test | Average FPS | 1% Low | GPU Usage | GPU Temp | Notes |
|---|---|---|---|---|---|
| Baseline | — | — | — | — | Note visible stutter |
| Change 1 | — | — | — | — | Same scene |
| Change 2 | — | — | — | — | Keep or revert |
The key is consistency.
Another person’s FPS result is a reference, not a promise. The same GPU can perform differently depending on the CPU, RAM, resolution, cooling, drivers, and game version.
Test Important Changes More Than Once
One run is often not enough.
Background activity, shader compilation, asset caching, and normal system variation can affect performance.
For an important change:
- Restart the game when appropriate.
- Run the same test three times.
- Record the same metrics each time.
- Compare the runs rather than choosing the best one.
- Keep the change only when the benefit is repeatable or clearly improves the experience.
A jump from 120 FPS to 122 FPS may be normal variation. A smaller FPS increase that also makes frame times noticeably steadier may be more valuable.
The goal is not to win a benchmark screenshot. It is to improve the way the game actually feels.
The First Run Can Be Useful
The first run may behave differently because a game is compiling shaders, loading assets, or building caches.
Do not automatically discard that result.
If the same area becomes smoother on later runs, shader compilation or caching may be contributing to the stutter. That gives you a much more useful direction than randomly changing Windows settings.
A 10-Minute Gaming PC Check
Before changing a long list of settings, do a quick diagnostic pass.
Check the display
Make sure Windows is using the refresh rate you expect.
Check the workload
Watch CPU, GPU, RAM, VRAM, storage, and network activity while the game is running.
Lower the resolution temporarily
A meaningful FPS increase can indicate that the GPU is an important limitation.
Little change means you should investigate CPU behavior, frame caps, engine limits, memory pressure, or other constraints.
Check temperatures and clocks
If the game runs well at first and slows down after several minutes, heat or power behavior may be involved.
Repeat the same test
The goal is to narrow down the problem before changing unrelated settings.
Sometimes this quick check finds a very ordinary problem: a display stuck at 60 Hz, an active download, high VRAM usage, or a cooling issue.
1. Update Windows and Your Graphics Driver
Graphics drivers can include game-specific fixes, compatibility changes, rendering improvements, and support for newer features.
Use your GPU manufacturer’s official software or driver page:
- NVIDIA: NVIDIA App or official NVIDIA drivers
- AMD: AMD Software: Adrenalin Edition
- Intel: Intel Graphics Software or Intel Driver & Support Assistant
NVIDIA says its Game Ready Drivers are tested and tuned for major games with an emphasis on performance, stability, and functionality. That does not mean every driver will improve every game.
Keep Windows reasonably current as well. Windows updates can include security, compatibility, and system-component changes that games and graphics drivers depend on.
Avoid installing a major update immediately before a tournament, livestream, or other important session. Give yourself enough time to launch your main games, check performance, and confirm that everything remains stable.
If a problem starts immediately after a driver or Windows update, check the release notes and known issues before changing several other settings.
Sometimes testing the previous driver version is more useful than installing update after update.
When Is a Clean Driver Installation Worthwhile?
A normal update is usually enough.
A clean installation can make sense when:
- The existing driver installation appears corrupted.
- You switched between GPU vendors.
- Driver settings are behaving strangely.
- Crashes started after repeated driver changes.
- A normal reinstall did not solve the problem.
Driver-removal tools can be useful for specific troubleshooting cases, but there is little reason to treat them as routine maintenance for every update.
2. Check Your Monitor’s Refresh Rate
A high-refresh-rate monitor can still run at a lower rate than intended.
In Windows 11, open:
Settings → System → Display → Advanced display
Select your monitor and confirm the active refresh rate. Microsoft notes that available refresh rates depend on the display and current configuration.
Also check that:
- On a typical desktop PC with a dedicated graphics card, connect the monitor to the graphics card’s display output rather than the motherboard video output.
- The cable and port support the resolution and refresh rate you want.
- The game is using the correct display.
- The selected display mode supports your target refresh rate.
- The chosen resolution and refresh rate are supported by the monitor and connection.
Hybrid-graphics and specialized multi-GPU configurations can behave differently.
A 165 Hz monitor running at 60 Hz is a configuration problem, not something you fix by lowering graphics quality.
Variable Refresh Rate
If your display supports AMD FreeSync, NVIDIA G-SYNC, or another VRR implementation, check those settings too.
VRR can make changing frame rates appear smoother and reduce visible tearing within its supported range.
It does not create additional rendered frames. It changes how the display handles the frames your system is already producing.
Dynamic Refresh Rate
Compatible Windows 11 systems may also support Dynamic Refresh Rate (DRR). Microsoft says DRR requires a display that supports VRR and a refresh rate of at least 120 Hz.
DRR adjusts the refresh rate automatically to balance responsiveness and power use. It should not affect games designed for VRR, but Microsoft notes that it can limit the maximum refresh rate in some other games. If a game appears capped below the expected rate, test it again with DRR disabled.
3. Enable Windows Game Mode
Windows includes a built-in Game Mode that can reduce certain background interruptions while you play.
You can enable it under:
Settings → Gaming → Game Mode
Its measurable effect varies by game and system, so do not expect it to double your FPS. On an already well-configured gaming PC, the difference may be small. Microsoft’s Windows documentation includes Game Mode as part of the Gaming settings in Windows.
Windows 11 Optimizations for Windowed Games
Windows 11 also provides Optimizations for windowed games for supported DirectX 10 and DirectX 11 games running in windowed or borderless-windowed modes.
Microsoft says the feature moves compatible games to a newer presentation model that can reduce frame latency and enable features such as variable refresh rate and Auto HDR on supported systems.
You can find it under:
Settings → System → Display → Graphics
Windows also lets you set graphics preferences for individual games. On systems with multiple GPUs, this can include a High performance option for a particular application.
Do not assume the setting will improve every game. Test it with the titles you actually play.
4. Reduce Background Activity Without Breaking Windows
Background software is not automatically a problem.
The issue is unnecessary work competing with the game at the wrong time.
Look for:
- Active game downloads
- Windows or application updates
- Cloud-storage synchronization
- Large backup jobs
- Resource-heavy browser tabs
- Screen recording you do not need
- Multiple monitoring utilities
- RGB or peripheral software behaving unusually
- Several launchers running at once
Open Task Manager with:
Ctrl + Shift + Esc
Sort by CPU, memory, disk, or network usage and look for obvious sources of activity.
Do not close an unfamiliar process simply because its name looks unimportant. Windows components, security software, accessibility tools, and hardware drivers may be working normally.
Review Startup Applications
Go to:
Settings → Apps → Startup
Disable applications you recognize and do not need every time Windows starts.
This is more controlled than running a broad “debloat” script that changes dozens of services without clearly explaining the consequences.
Should You Disable Antivirus Protection?
Usually, no.
Security software can occasionally affect installation or file-heavy workloads, but disabling system-wide protection just to chase FPS is not a good default.
When a trusted application has a documented compatibility problem, use the security product’s exclusion controls carefully.
Microsoft advises using exclusions only when you are sure the item is safe because excluded items receive less protection.
Use an exclusion only for a verified conflict involving a trusted file, folder, or process. Avoid broad exclusions such as an entire drive or game library unless the security vendor specifically recommends them.
5. Find the Actual Bottleneck
This is where optimization becomes useful.
A graphics setting only helps when it addresses the workload holding performance back.
Signs of a GPU Limitation
A game may be primarily GPU-limited when:
- GPU utilization remains very high during the workload.
- Lowering resolution produces a meaningful FPS increase.
- Reducing GPU-heavy settings improves performance.
- The CPU still has room to process additional frames.
In that situation, test settings such as:
- Ray tracing
- Volumetric lighting
- Shadows
- Reflections
- Ambient occlusion
- Anti-aliasing
- Resolution scale
- Expensive post-processing
The performance cost varies by game, so test rather than assuming.
Texture Quality Is Different
Texture quality often affects VRAM use and asset residency more than raw shader workload.
If the game fits comfortably within available VRAM, lowering textures may produce little additional FPS.
When VRAM pressure is high, reducing texture quality can be a useful test for texture-loading problems or unstable frame times.
Upscaling: DLSS, FSR, and XeSS
Supported games may offer upscaling technologies such as:
- NVIDIA DLSS Super Resolution
- AMD FSR Upscaling
- Intel XeSS Super Resolution
These are different from frame generation.
DLSS Super Resolution, for example, reconstructs a higher-resolution output from lower-resolution input. AMD and Intel likewise distinguish their upscaling features from frame-generation technologies.
Start with a quality-oriented upscaling mode when available, then judge the image while actually moving through the game.
A static screenshot does not tell you how reconstruction behaves during motion.
Frame Generation Is Different
Frame generation creates additional frames between conventionally rendered frames rather than simply reconstructing a higher-resolution image.
NVIDIA documents Frame Generation as a separate DLSS feature from Super Resolution.
It can increase the displayed frame rate, but it is not the same thing as increasing conventional rendered FPS. Latency and visual behavior can also differ depending on the implementation.
Evaluate frame generation separately from upscaling.
Signs of a CPU Limitation
A game may be CPU-limited when:
- Lowering resolution produces little improvement.
- GPU utilization remains below its practical workload limit.
- One or more CPU threads are heavily loaded.
- Performance drops in crowded or simulation-heavy scenes.
Total CPU usage can be misleading.
A game can run into a thread-level limit while overall CPU usage remains well below 100%.
CPU-heavy settings can include:
- Crowd density
- Traffic density
- Physics detail
- Simulation quality
- View distance
- Object detail
- Player or entity count
If the CPU is the limiting factor, lowering resolution may simply make the image softer without adding much FPS.
6. Use a Simple Bottleneck Test
You do not need a complicated benchmark to get a useful first answer.
- Run the game at your normal resolution.
- Record FPS and GPU utilization.
- Lower the resolution substantially.
- Keep the scene and other settings as similar as possible.
- Compare the result.
A substantial FPS increase suggests that the GPU is an important part of the limitation.
Little change tells you to investigate other possibilities, such as CPU behavior, frame caps, engine limits, memory pressure, or background activity.
It is a diagnostic clue, not a mathematical rule. V-Sync, FPS limits, engine restrictions, and unusual workloads can affect what you see.
7. Tune Settings for the Game You Actually Play
There is no graphics preset that is ideal for every title.
A competitive shooter may prioritize:
- High and consistent FPS
- Low latency
- Clear visibility
- Minimal visual distractions
A single-player game may prioritize:
- Image quality
- Texture detail
- Stable frame pacing
- Lower fan noise
An open-world game can be sensitive to CPU performance, memory, storage behavior, and asset streaming in ways that a smaller arena game is not.
That is why game-specific recommendations can be useful.
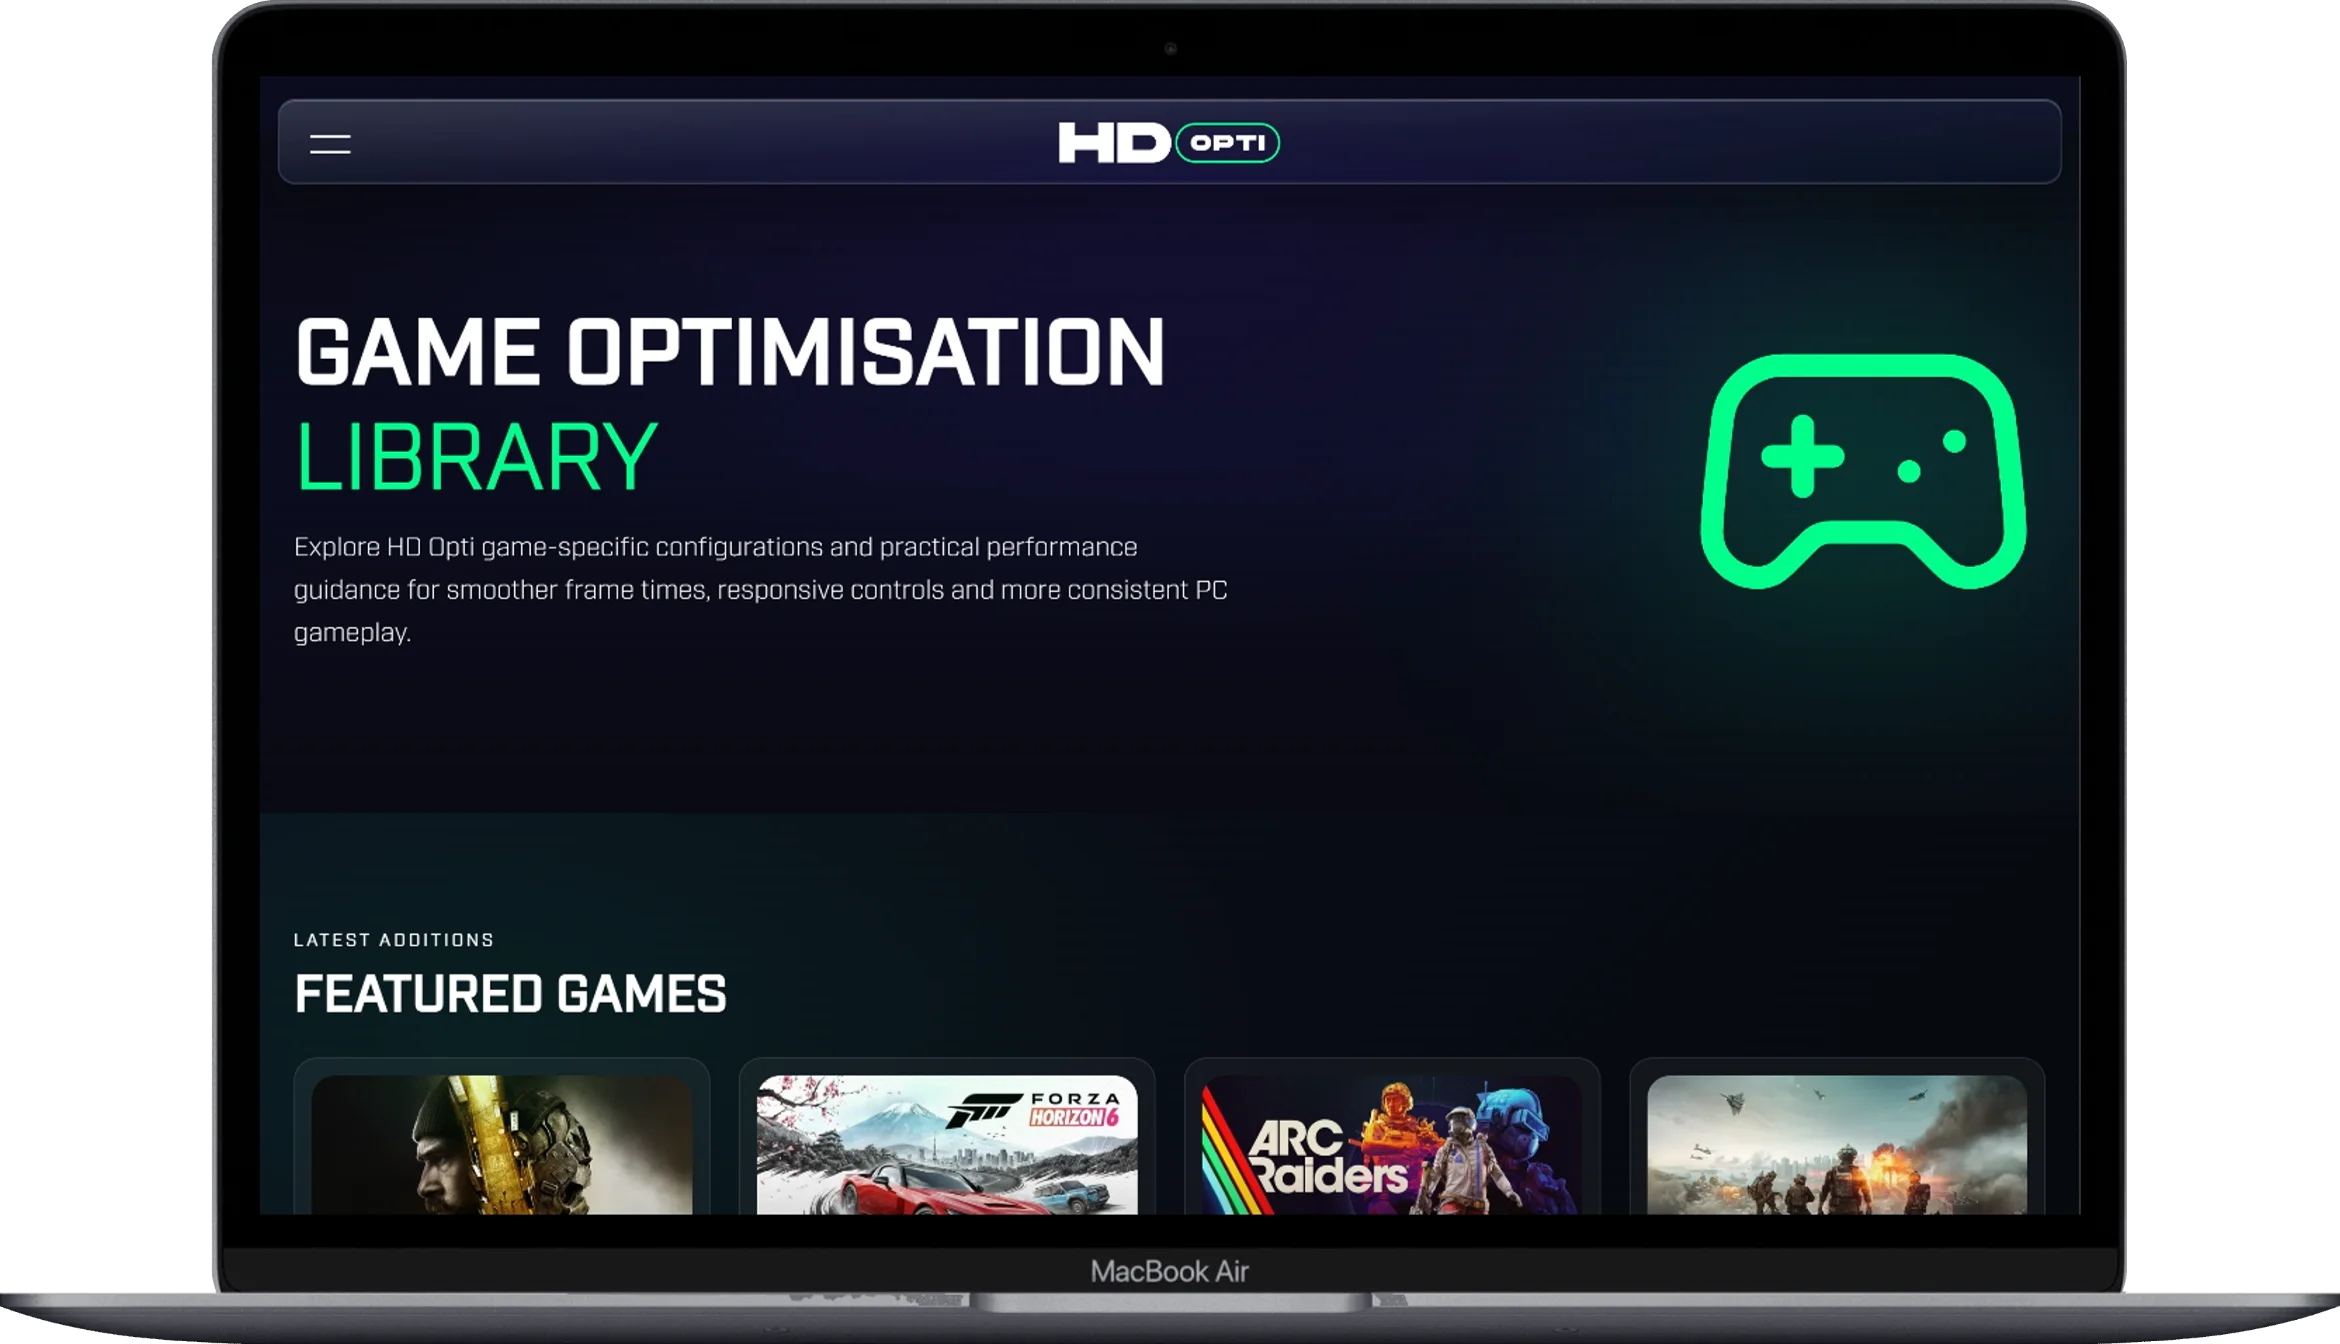
The HD OPTI game optimization library provides configuration guidance for supported games. Use those recommendations as a starting point, then validate them using the same baseline-and-retest process described in this guide.
8. Focus on Frame-Time Consistency
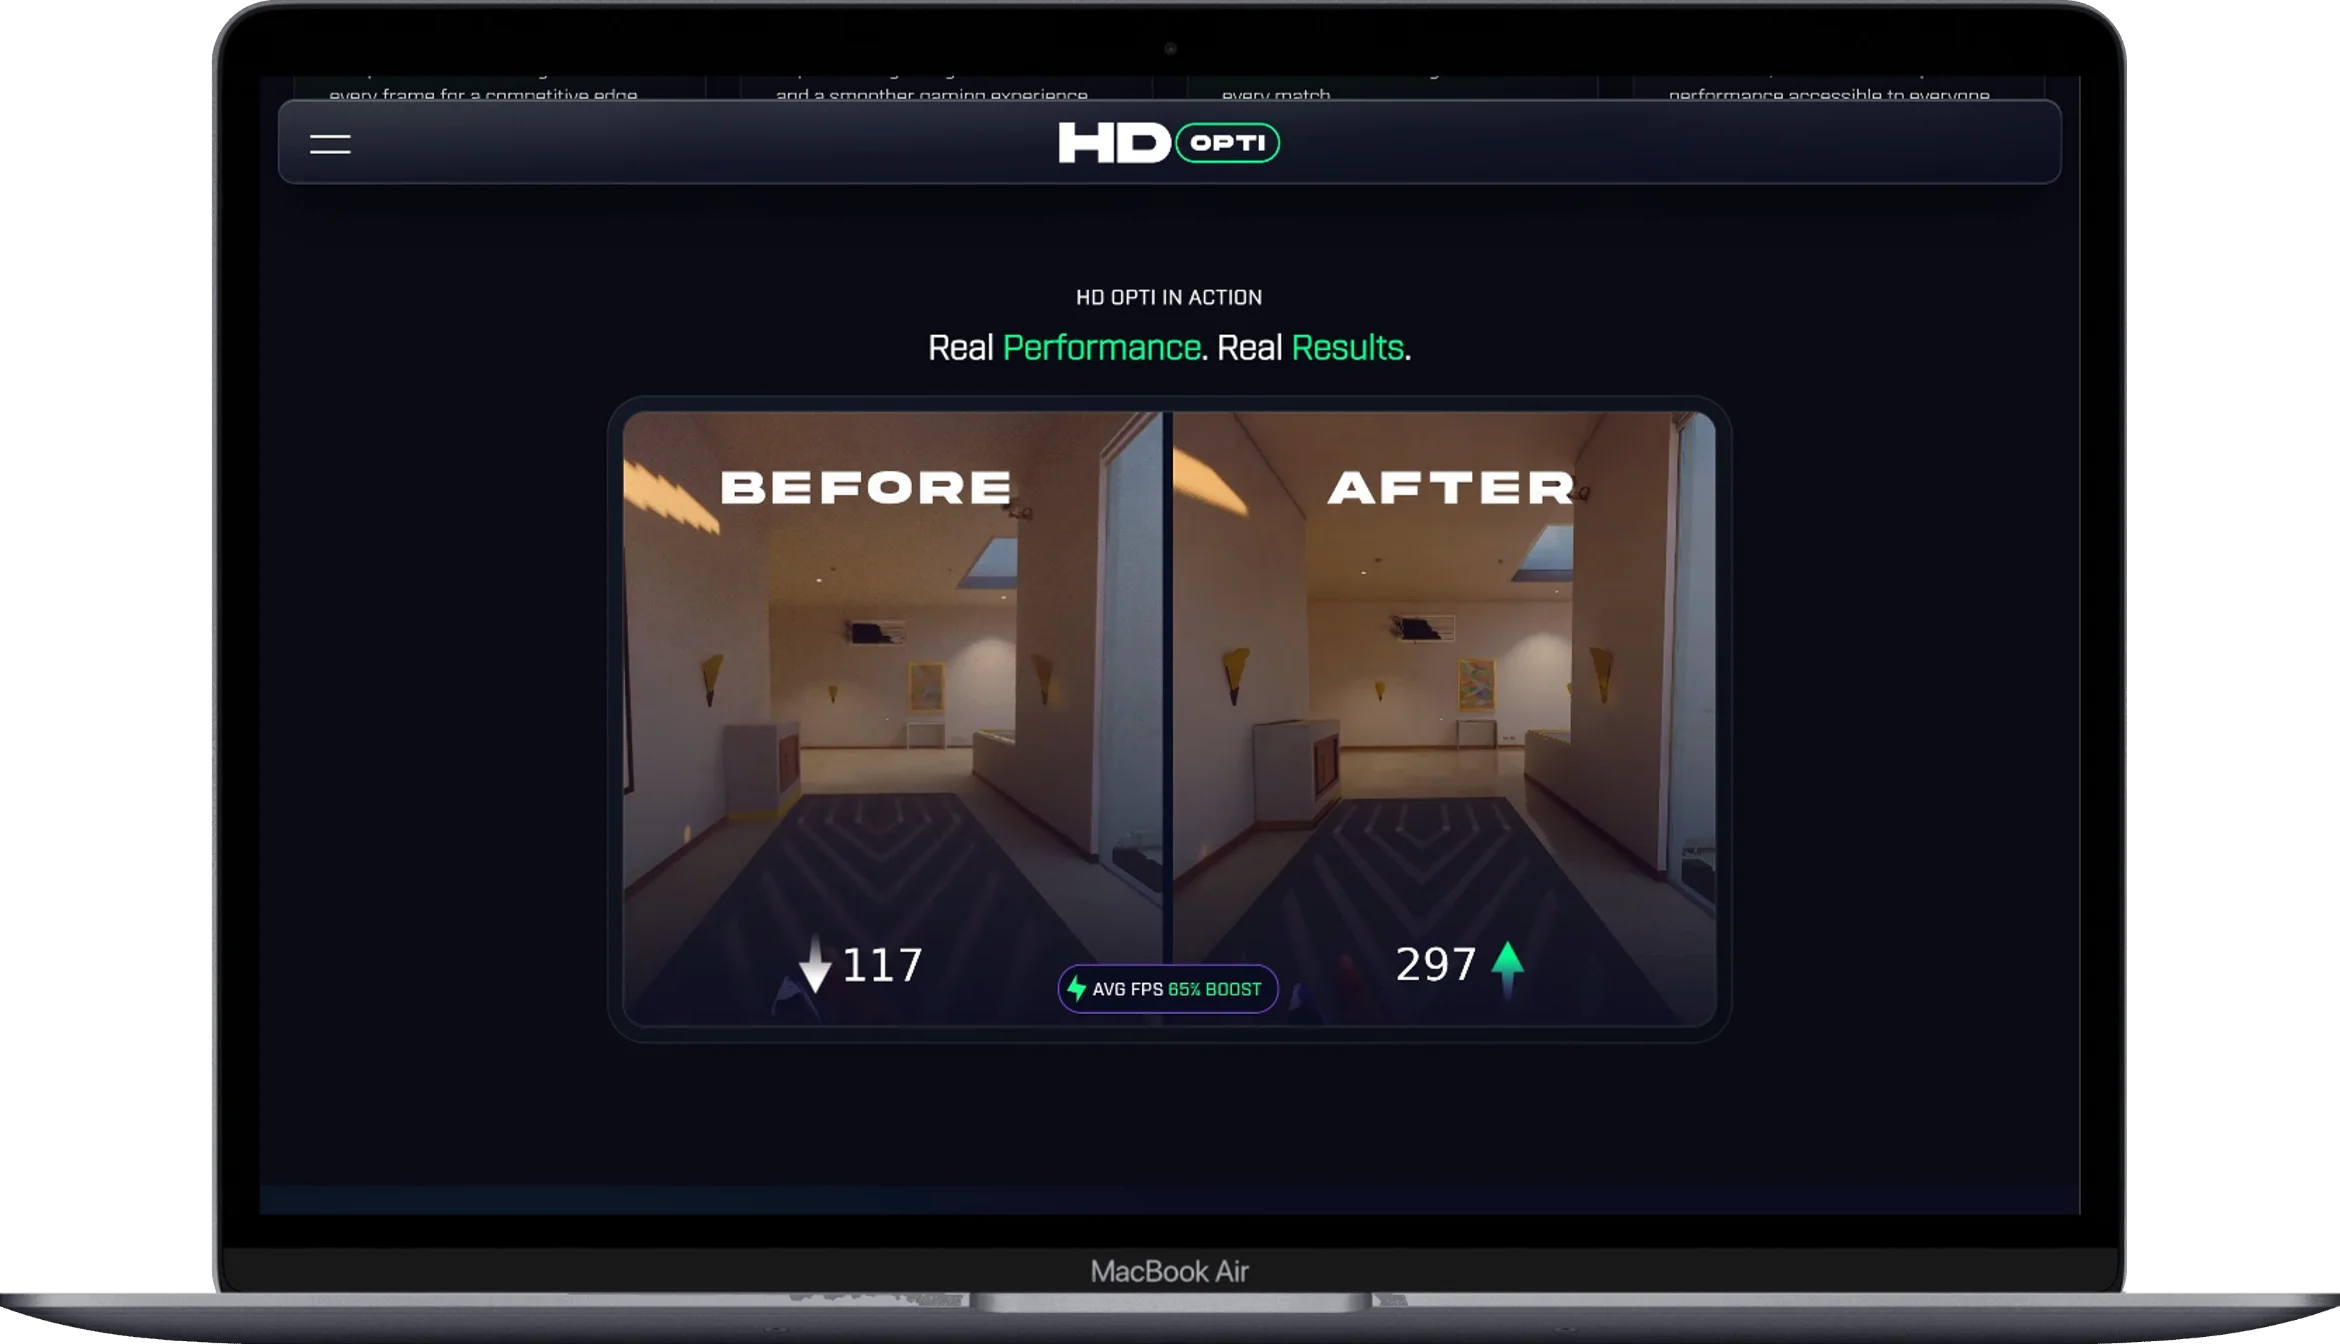
Average FPS is useful, but it does not tell the whole story:
- At 60 FPS, each frame takes about 16.7 ms.
- At 120 FPS, about 8.3 ms.
- At 240 FPS, about 4.2 ms.
The important part is consistency. Two systems can average nearly the same FPS while feeling very different:
- System A: Frames arrive at a relatively steady pace.
- System B: Most frames are fast, but occasional frames take much longer.
System A can feel smoother even with a slightly lower average FPS. That is why a frame-time graph can sometimes tell you more than the headline FPS number.
When an FPS Cap Can Help
An FPS cap can sometimes make frame delivery more predictable and prevent the GPU from running at full load when that is unnecessary.
It can also reduce heat, fan noise, or power use on some systems.
Imagine a game fluctuating between 105 and 145 FPS.
A cap near or slightly below the frame rate your system can sustain in demanding scenes may produce steadier frame delivery.
A 120 FPS cap could still reduce GPU load in lighter scenes, but it would not prevent the game from dropping below 120 when the hardware cannot sustain that rate.
Start with the game’s built-in limiter when it works well. A driver-level or reputable external limiter can be useful when the in-game option is poor.
Avoid stacking several unrelated FPS limits unless you have a specific reason.
9. Configure V-Sync and VRR Intentionally
V-Sync, VRR, and an FPS cap solve different problems.
- V-Sync: Coordinates frame presentation with the display refresh cycle and can reduce tearing. Depending on the configuration, it can also affect latency.
- VRR: Allows a compatible display to adjust its refresh timing to better match changing frame output.
- FPS cap: Limits how many frames the game attempts to render.
There is no universal combination that is perfect for every monitor and game.
A competitive player may prioritize responsiveness. Another player may prefer a tear-free image.
On a VRR display, staying within its supported range can often produce smoother output, but the best configuration depends on the display, GPU, game, and your preferences.
The practical approach is simple:
Change one setting, play the same section, and judge both smoothness and responsiveness.
10. Make Sure “Lag” Is Actually a Performance Problem
“Lag” can describe several different problems.
Low FPS
What it feels like: The game consistently looks slow or choppy.
Possible causes: Heavy graphics settings, CPU or GPU limitations, thermal or power limits, or hardware that cannot keep up.
Frame-Time Stutter
What it feels like: Brief freezes or sudden jumps even when average FPS looks reasonable.
Possible causes: Shader compilation, background tasks, asset streaming, storage activity, RAM or VRAM pressure, driver problems, or game-specific issues.
Input Delay
What it feels like: Mouse, keyboard, or controller actions appear on-screen later than expected.
Possible causes: Low FPS, display processing, V-Sync behavior, render-queue latency, peripheral settings, or the game engine.
Network Latency
What it feels like: Rubber-banding, delayed server responses, teleporting players, or inconsistent online actions.
Possible causes: Server distance, network congestion, packet loss, Wi-Fi interference, routing problems, background traffic, or server-side issues.
A graphics setting will not fix a distant game server.
Likewise, a faster internet package will not necessarily lower ping when distance or routing is the main problem.
For Online Gaming
When practical:
- Use Ethernet.
- Pause large downloads and uploads.
- Avoid weak or congested Wi-Fi.
- Choose an appropriate server region.
- Check packet loss, not just ping.
- Make sure another device is not saturating the connection.
Be skeptical of software that promises dramatic ping reductions in every game. It may help when a local configuration or traffic problem is involved, but it cannot remove delay caused by geography, server load, or routing outside your PC.
11. Check Temperatures, Cooling, and Power
Modern CPUs and GPUs change clock behavior according to workload, temperature, power limits, and other conditions.
A PC can therefore perform well for the first few minutes and then slow down once heat builds up.
Monitor temperatures and clock behavior during gameplay, not only on the desktop.
If temperatures are unusually high:
- Make sure the fans are working.
- Clean dust from filters, fans, and heatsinks.
- Check that the case has adequate airflow.
- Review fan behavior with trusted software.
- Keep a gaming laptop on a hard, flat surface.
- Check cooler mounting if you have the experience to do it safely.
- Compare temperatures with the specifications for your exact CPU or GPU.
There is no single temperature threshold that is ideal for every processor or graphics card.
Gaming Laptop Power Modes
Gaming laptops often include modes such as:
- Silent
- Balanced
- Performance
- Turbo
Higher-performance modes may allow more sustained CPU or GPU power, but they can also increase heat, noise, and battery consumption.
For demanding gaming, use the appropriate power adapter.
Many laptops also reduce performance while running on battery.
On systems with multiple GPUs, check which GPU Windows has assigned to the game under:
Settings → System → Display → Graphics
Windows can provide a High performance graphics preference for individual applications.
12. Check RAM, VRAM, and Storage
System RAM
High memory pressure can become a problem when a game and background applications use most of the available RAM.
Windows can use storage-backed virtual memory when necessary, so some memory activity is not automatically a problem.
The concern is sustained pressure and noticeable paging during gameplay.
When RAM usage stays near capacity:
- Close unnecessary applications.
- Reduce memory-heavy settings when appropriate.
- Check which programs are consuming the most RAM.
- Consider a memory upgrade if your platform supports one.
Avoid “RAM cleaner” tools that aggressively empty cached memory simply to make the free-memory number look larger.
Free RAM is not automatically better gaming performance.
VRAM
High VRAM pressure can contribute to:
- Texture-loading problems
- Frame-time spikes
- Delayed assets
- Performance instability
When VRAM is close to its practical limit, review texture quality and other settings that increase memory demand.
Higher resolutions, ray tracing, high-resolution texture packs, and some advanced effects can all increase VRAM usage.
Storage
An SSD generally improves boot times, game loading, installation speed, and file-access behavior compared with a mechanical hard drive.
It does not automatically increase average FPS.
Games that stream assets heavily can sometimes benefit from faster storage, but the effect depends on the game and workload.
Keep reasonable free space on the Windows drive and game drive.
Storage Sense
Windows includes Storage Sense for managing certain temporary files.
Open:
Settings → System → Storage → Storage Sense
Storage Sense works on the Windows system drive, usually C:. With its default settings, it can clean up temporary files and manage Recycle Bin contents; Downloads and cloud content are not touched unless you configure those options.
Review the cleanup settings before enabling automatic deletion, especially if you keep important files in Downloads.
13. Treat Shader Compilation Stutter Separately
Not every stutter comes from poor Windows configuration.
Some games compile shaders during initial gameplay or after changes to the software environment.
This can happen after:
- Installing a graphics driver
- Updating a game
- Changing GPUs
- Clearing shader caches
- Entering an area containing effects that have not yet been compiled
A short stutter the first time an effect appears does not automatically mean your PC needs an optimization tweak.
One useful clue is what happens when you revisit the same area.
If the stutter becomes less frequent after the game has had time to compile and cache the necessary shaders, shader compilation may be contributing to the behavior.
For that reason, repeatedly clearing shader caches is not a general performance trick. It can simply force the game to rebuild them.
When a game provides a shader precompilation step, let it finish before an important play session.
14. Avoid Risky “Optimization” Tweaks
Be cautious with advice that tells you to:
- Disable Windows security features without a clear reason.
- Remove system services in bulk.
- Import unexplained registry files.
- Run unknown scripts as administrator.
- Delete unfamiliar system folders.
- Permanently disable Windows Update.
- Change timer settings because of one benchmark.
- Apply an aggressive overclock without stability testing.
- Set every game to the highest process priority.
- Install modified drivers from unknown sources.
The problem is not only that these tweaks may fail.
They can create crashes, broken updates, audio issues, sleep problems, instability, or performance changes that only exist in one benchmark.
Before making a major change:
- Record the original setting.
- Back up important data or create an appropriate restore point.
- Understand what the change actually does.
- Make one meaningful change at a time.
- Test performance and stability.
- Revert the change when the benefit is unclear.
A fix you understand is usually more valuable than a dramatic tweak nobody can explain.
A Faster Way to Troubleshoot Gaming Performance
You do not need to work through every setting in this guide every time.
Use the symptom to decide where to start.
| What you notice | Investigate first | Useful first test |
|---|---|---|
| GPU stays heavily loaded | GPU limitation | Lower resolution |
| GPU usage is low and CPU thread activity is high | Possible CPU or engine limitation | Check FPS caps and reduce CPU-heavy settings |
| FPS barely changes when resolution drops | CPU, engine, cap, or another limit | Check CPU behavior and FPS limits |
| Stutter happens mainly the first time you enter an area | Shader compilation or asset loading | Repeat the same route |
| Performance drops after several minutes | Thermal or power behavior | Check clocks and temperatures |
| VRAM is near capacity | Graphics memory pressure | Lower textures and other VRAM-heavy settings |
| FPS is high but the game feels uneven | Frame pacing or latency | Check the frame-time graph |
| Game feels delayed while FPS is stable | Display or input latency | Check refresh rate, V-Sync, and VRR |
| Online game rubber-bands | Network or server issue | Check packet loss and routing |
Do not start with the tweak. Start with the symptom.
A Practical Optimization Order
Once you know what you are looking for, use this order:
Fix configuration problems
Check the display refresh rate, resolution, display mode, correct GPU, drivers, and laptop power connection.
Remove obvious interference
Pause downloads, close unnecessary applications, review startup programs, and check network activity.
Find the bottleneck
Look at GPU utilization, individual CPU behavior, RAM, VRAM, temperatures, clock speeds, storage activity, and frame-time behavior.
Tune the game
Adjust settings that affect the actual bottleneck. Then consider upscaling, texture quality, FPS limits, V-Sync, or VRR.
Validate the result
Run the same test again and check a few demanding areas of the game.
Keep changes that produce a repeatable benefit. Revert the ones that do not.
Common PC Gaming Optimization Mistakes
Changing everything at once
You lose the ability to tell what actually worked.
Judging performance from one run
Normal variation can make a small difference look meaningful.
Lowering every graphics setting
Some settings have a large visual impact but relatively little performance cost.
Assuming low GPU usage proves a CPU bottleneck
A frame cap, V-Sync, engine limit, memory pressure, or another constraint can also keep GPU usage below maximum.
Disabling security software for FPS
The potential security cost is usually not worth an uncertain gain.
Copying someone else’s FPS result
Different CPUs, RAM configurations, resolutions, cooling systems, drivers, and game versions produce different results.
Optimizing a PC that is already working well
If your games are stable, temperatures are reasonable, and you are not experiencing a real problem, there may be little to fix.
Optimization should solve a problem, not create one.
Frequently Asked Questions
Can optimizing a PC increase FPS?
Yes, but the improvement depends on the original problem.
Correcting a configuration issue, reducing an expensive graphics setting, or stopping a demanding background workload can improve FPS. The gain may be small when the system is already configured correctly or the hardware itself is the main limitation.
What is the best way to optimize a gaming PC?
Measure performance first, identify the likely bottleneck, make one targeted change, and test again.
There is no single Windows setting, registry tweak, or graphics preset that is optimal for every PC and game.
How can I make my gaming PC run smoother?
Start by checking frame times rather than looking only at average FPS.
Then investigate background activity, shader compilation, memory pressure, temperatures, storage activity, and CPU or GPU limitations.
How do I reduce stuttering in PC games?
First, identify when the stutter happens.
Stutter during the first visit to an area may point toward shader compilation or asset loading. Repeated stutters can also come from background activity, RAM or VRAM pressure, storage behavior, drivers, or game-specific problems.
Why is my FPS high but the game still feels laggy?
High FPS does not guarantee low latency or smooth frame delivery.
Check the monitor’s refresh rate, frame-time behavior, V-Sync, VRR, input settings, and FPS cap.
Also make sure “lag” is not actually a network problem.
Is higher FPS always better?
Not necessarily.
Higher FPS can improve responsiveness, but unstable frame delivery can make a game feel worse.
A slightly lower frame rate with consistent frame times can be more comfortable to play.
Does lowering the resolution always increase FPS?
No.
Lowering resolution is most useful when the GPU is the bottleneck.
If the CPU, game engine, frame cap, or another limitation is holding performance back, lowering resolution may do very little.
Should every graphics setting be set to Low?
No.
Some settings have a large visual cost but only a small performance benefit from lowering them.
Reduce the settings that matter for your actual bottleneck instead.
Will an SSD increase gaming FPS?
Usually, an SSD improves loading and file-access behavior rather than average FPS.
Games that stream assets heavily can sometimes benefit from faster storage, but an SSD is not a guaranteed FPS upgrade.
Can optimization software lower ping?
It can help when local background traffic or a configuration problem contributes to network latency.
It cannot eliminate delay caused by server distance, server load, ISP routing, or infrastructure outside your PC.
Should I disable every overlay?
No.
Many overlays work without causing noticeable problems.
When troubleshooting stutter, crashes, or unusual input behavior, disable overlays one at a time so you can identify whether a specific one is involved.
How often should I optimize a gaming PC?
Not very often.
Review your setup after major Windows updates, graphics driver changes, game patches, hardware upgrades, or when you notice a real performance problem.
When everything is stable, there is usually little benefit in continually changing settings.
My Rule for PC Optimization
Do not change a setting unless you can explain what problem it is supposed to solve.
High GPU utilization points you toward GPU-heavy settings. CPU thread limits call for CPU-side investigation. First-run stutter may indicate shader compilation or asset streaming. High FPS with poor responsiveness points toward the display or latency path.
If the system is already stable and performing as expected, leave it alone.
Final Thoughts
The best PC optimization is rarely the most aggressive one.
Measure performance, identify the bottleneck, make one targeted change, and test again.
The result may be higher FPS, but it could also be steadier frame times, fewer stutters, lower temperatures, quieter fans, or a better balance between image quality and performance.
Measure → Diagnose → Change → Test → Keep or Revert
You do not need to turn Windows upside down to make a gaming PC run better. In many cases, the biggest improvement comes from finding one real problem and fixing it properly.
That makes PC optimization safer, easier to understand, and more useful in the long run.
You May Also Like
 Windows
12 Best Free RAM Cleaners For Windows 10/11
 Software
How To Use CrystalDiskMark to Test SSD: Testing My SSDs and Flash Drives
 Computer Security
10 Best Free Virus And Malware Removal Softwares
 Windows
10 Best Free USB Speed Test Software to Test Read & Write Speed USB
 ROMs & Emulators
Safety and Reliability of Romspedia for ROMs and Emulators
 ROMs & Emulators
20+ Best Safe Sites To Download ROMs – 100% Safe and Working
 ROMs & Emulators
13 Best Free GBA Emulators (Gameboy Advance) For Android & Windows
 Windows
8 Free Windows Repair Tools to To Fix Your PC Error
 Windows